Contact Us

Use the form on the right to contact us.

You can edit the text in this area, and change where the contact form on the right submits to, by entering edit mode using the modes on the bottom right. 

2210 Haines Avenue
Rapid City, SD, 57701
United States

605-341-5044

Someone's In the Kitchen is an independent, gourmet kitchenware store in Rapid City, South Dakota. We are your shop for "all things kitchen". Enjoy a leisurely shopping experience in the world of kitchen and home.

RECIPE ARCHIVE IV

Filtering by Tag: crust

Fresh Tomato Tart

Lia Soneson

 
Tomato_Tart_v6_01.jpg

Peak tomato season is upon us! A tomato tart is a unique and delicious way to showcase this summertime star. This dish features a Parmesan cheese crust layered with whipped ricotta and finished with slices of heirloom tomatoes and fresh basil. Enjoy this tomato tart with a simple side salad for a delightful lunch or dinner!


Fresh Tomato Tart
Makes one 9-inch square tart

Parmesan Crust Ingredients:
1-1/4 cups flour
1/2 teaspoon Kosher salt
1/4 teaspoon freshly ground pepper
1 cup Parmesan cheese, grated
1/2 cup cold, salted butter, cut into cubes
1-3 tablespoons ice water

Whipped Ricotta Filling Ingredients:
8 oz fresh ricotta cheese
1 tablespoon olive oil
1 teaspoon fresh lemon juice
1 teaspoon lemon zest
1/4 teaspoon Kosher salt

Topping Ingredients:
3 large heirloom tomatoes, sliced
Salt for tomatoes
Basil, chiffonade cut for garnish
Lemon zest, for garnish
Reduced balsamic vinegar, drizzled for garnish
Kosher or flake salt for garnish

Directions:

1. Prepare the crust. Using a food processor, pulse the flour, salt, pepper, and Parmesan cheese together until combined. Add 1/2 of the cubed butter and pulse until the texture is as coarse as cornmeal. Add the remain- ing butter and pulse a few times leaving some pieces the size of small peas. Slowly drizzle the water in one tablespoon at a time, and pulse until the dough forms. Avoid adding too much water.

2. Pat the dough into a disc form and wrap with plastic wrap. Refrigerate for at least one hour.

3. Meanwhile, prepare the whipped ricotta filling. In a food processor or high-powered blender, whip the ricotta with the olive oil, fresh lemon juice, lemon zest, and salt until a very smooth texture is formed.

4. Prepare the topping ingredients. Slice the tomatoes into 1/4”-thick slices, and place on a paper towel-lined sheet pan. Sprinkle the slices with Kosher salt and let them rest for a few minutes to release excess juices. Slice the basil into a chiffonade cut for a garnish. Zest a lemon to use as a garnish, as well.

5. Preheat the oven to 375°F. Roll out the crust on a flour-dusted work surface. Place the crust in a greased tart pan and trim the edges. Place pie weights inside the tart crust and bake for 15-20 minutes. Remove the pie weights and continue baking an additional 15-20 minutes or until the crust springs back when touched, and has turned a light golden hue. Allow the crust to cool completely on a cooling rack.

6. Assemble the tart once the crust has cooled completely. Spread the whipped ricotta on the baked crust. Top the ricotta layer with the tomato slices. Garnish with the basil, lemon zest, a pinch of salt, and a drizzle of reduced balsamic vinegar. Serve immediately. Enjoy with a simple side salad, if desired.


Spicy Chocolate Mousse Pie

Lia Soneson


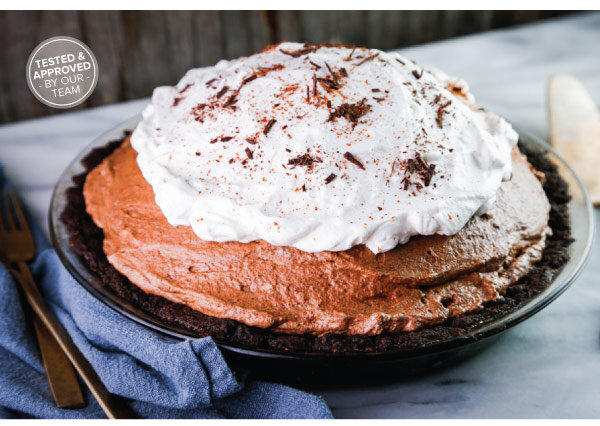
In this recipe, we explore the uniquely complex and deeply satisfying flavors of Mexican chocolate. This Spicy Chocolate Mousse Pie boasts a crumbly, chocolate cookie crust, and a mousse so light it almost evaporates in your mouth. Meanwhile, a little sweet heat is left behind ready to tickle your taste buds!

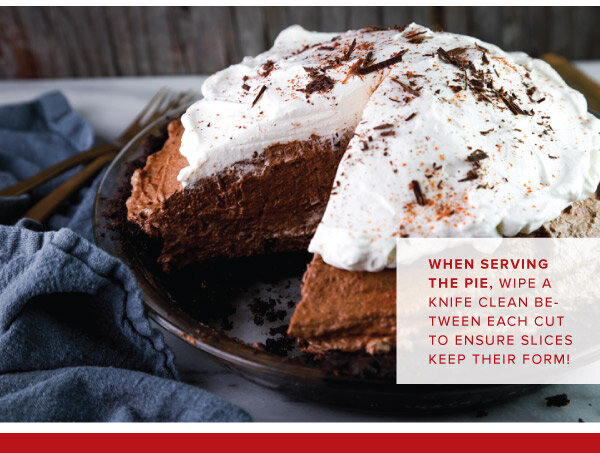
Spicy Chocolate Mousse Pie with Fresh, Homemade Vanilla Whipped Cream
Makes one 9-inch pie

Chocolate Mousse Filling:
1 tablespoon hot water
1/2 teaspoon espresso powder
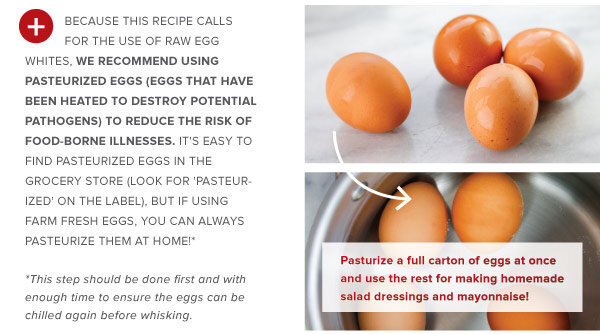
4 pasteurized egg whites (or 1/2 cup pasteurized liquid egg whites)
1 cup sugar
10 oz. 70% semisweet baking chocolate, chopped, plus some for garnishing
3 tablespoons unsalted butter
2 cups heavy cream, divided
1/2 teaspoon cinnamon
3/4 teaspoon cayenne pepper
1/4 teaspoon salt
1 teaspoon vanilla extract

Crust:
2-1/2 cups chocolate sandwich cookie crumbs (roughly 30 cookies; like Oreos)
1/4 teaspoon cinnamon
1/4 teaspoon instant espresso powder
Pinch of salt
7 tablespoons unsalted butter, plus
1 tablespoon for greasing the pie dish

Vanilla Whipped Cream:
1 cup cold heavy whipping cream
3 tablespoons powdered sugar
1 teaspoon vanilla extract

Directions:
1. Make the crust. Preheat the oven to 325°F. Lightly grease a pie dish pan with 1 tablespoon melted butter.

2. In a food processor, pulse the chocolate cookies (including filling) until fine crumbs form, about 2 minutes. Add the cinnamon, espresso powder and a pinch of salt and pulse a few times to incorporate. In a medium bowl, melt the remaining butter and mix in the cookie crumbs, coating them until the crumbs are coated.

3. Pour the crumb mixture into the pie dish and use the bottom of a measuring cup to press the mixture firmly to the edges to create a crust. Bake for 10 minutes until crust is set. Let it cool to room temperature.

4. Prepare the mousse filling by combining the espresso powder in the hot water, stirring until dissolved. Set aside. In a stand mixer fitted with the whisk attachment, whisk the egg whites and sugar on medium high speed until the whites have tripled in volume and stiff peaks have formed, roughly 5-6 minutes. Use a spatula to scrape the mixture into a large bowl.

5. Clean the mixing bowl and in the stand mixer fitted with the whisk attachment, beat the cream, cinnamon, cayenne, salt, and vanilla on medium-high speed until medium peaks form and the cream is pillowy, roughly 2 minutes. Do not over whisk.

6. Melt the chocolate and butter in a heatproof bowl positioned over a saucepan of simmering water stirring until the chocolate is melted and smooth, roughly 4-5 minutes. Stir in the espresso mixture.

7. Gently fold the chocolate mixture into the egg whites, then gently fold in the whipped cream to the egg and chocolate mixture until no white streaks are left. Do not over mix or the mousse will start to deflate.

8. Use a large spoon to scoop the mousse into the pie dish and spread it evenly over the bottom of the crust. Mound the remaining in the center to be higher than the crust edge. Refrigerate for 1 hour.

9. Make the whipped cream topping by whisking the heavy whipping cream, powdered sugar, and vanilla on medium-high speed until medium peaks form, roughly 2 minutes. Do not over whip or the cream will become curdled and grainy. Top the pie with the whipped cream and refrigerate for at least 4 hours. When ready to serve, sprinkle with the shaved chocolate and dust with a pinch of cinnamon and cayenne, if desired.
 

Winter Pear Galette

Lia Soneson


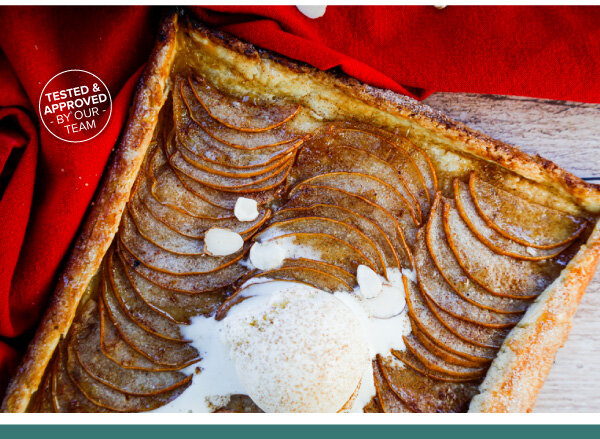
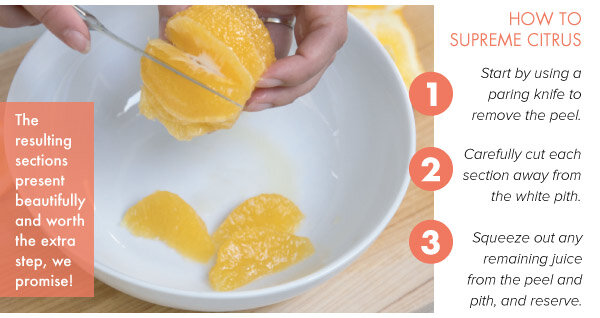
Warm, spicy pears are our winter season indulgence, and we couldn’t be happier about it! In this recipe, we share our simple go-to pastry crust that comes together quickly for this impressive dessert. The warm cinnamon-y pears and flaky crust topped with cold, vanilla bean ice cream completes any occasion in sweet style.

Winter Pear Galette
Serves 4

Filling Ingredients:
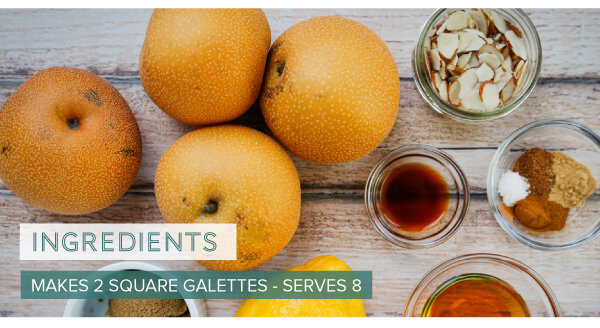
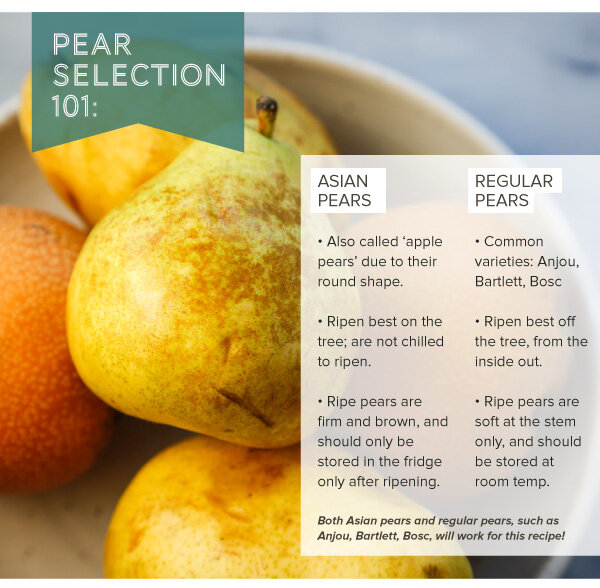
3 Asian pears, cored and cut into thin 1/8" slices using a mandoline
3 tablespoons brown sugar
1 teaspoon pure vanilla extract
2 teaspoons finely grated lemon peel
1 teaspoon lemon juice
1/2 teaspoon cinnamon
1/4 teaspoon nutmeg
1/4 teaspoon ginger
1/4 teaspoon Kosher salt
2 tablespoons unsalted butter, chilled and cut into small pieces
1/4 cup slivered almonds
1/3 cup honey (for drizzling)

Crust Ingredients:
2-1/2 cups all-purpose flour
1 tablespoon sugar
1-1/2 teaspoons Kosher salt
1 cup unsalted butter (2 sticks), grated and well chilled
4-6 tablespoons ice water

Crust Topping:
1 egg, whisked for egg wash
1 tablespoon coarse sugar

For Serving:
Vanilla Ice cream
Sprinkle of cinnamon
1/4 cup slivered almonds, optional
1/3 cup honey for drizzling, optional

Directions:
(The crust may be mixed by hand or with a food processor. )
1. For the crust, mix the flour, sugar, and salt together in a large bowl with a whisk until evenly distributed.
2. Prepare the ice water by filling a small bowl with ice cubes and adding water.

3. Place the grated butter in the flour mixture. Using a pastry blender, cut the butter and flour mixture together until a coarse texture is reached with some pea-sized pieces of butter remaining.

4. Add 2 tablespoons of the ice water by sprinkling on top of the flour/butter mixture. With a fork, gently toss the mixture. Continue adding ice water one tablespoon at a time tossing after each addition until a rough ball of dough forms. (Avoid adding too much water.)

5. Flatten the dough ball into a disk about a one-inch thick, and wrap in plastic wrap.

6. Chill the wrapped dough disk for an hour or overnight.

7. On a pastry slab or a cutting board, divide the dough into two even balls. Place the first half of the dough directly on a sheet of parchment paper and roll into a rough square, about 1/8-inch-thick. Create a straight edge by folding 1” of the dough onto itself around the perimeter. Chill for 15 minutes. While the first half is chilling, prepare the second half of dough into a square, as well, chill.

8. Preheat the oven to 425° F.

9. Meanwhile, prepare the filling. In a large bowl, mix the pear slices with the brown sugar, vanilla, lemon peel, lemon juice, cinnamon, nutmeg, ginger, and salt. Toss until evenly coated.
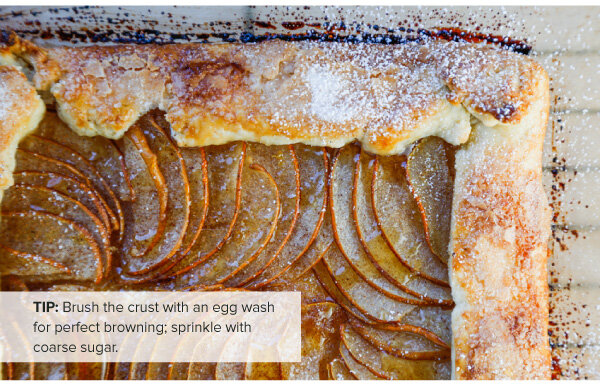
10. Assemble the galettes. Group pear slices together, and carefully arrange overlapping the slices.
11. Distribute the butter pieces evenly on the pears and use a pastry brush to brush the crust with the lightly beaten egg. Sprinkle the coarse sugar on top of the crust.

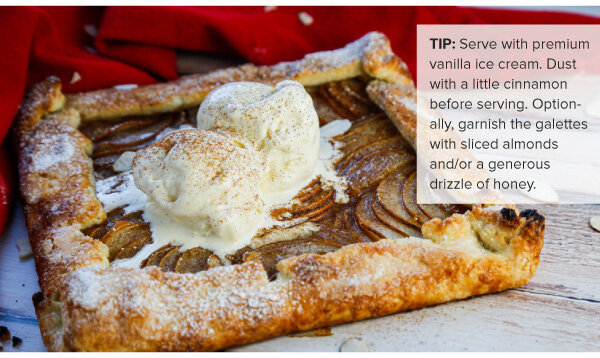
12. Bake for about 30 minutes, or until the crust lightly browns. Serve with vanilla ice cream and a sprinkling of cinnamon while still slightly warm.


Make Your Own Summer Blueberry Hand Pies

Lia Soneson

 
Blueberry_HandPies_v1_01.jpg

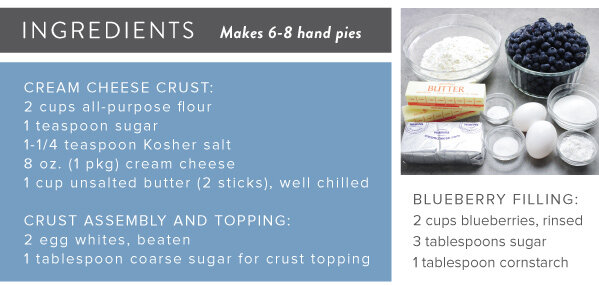
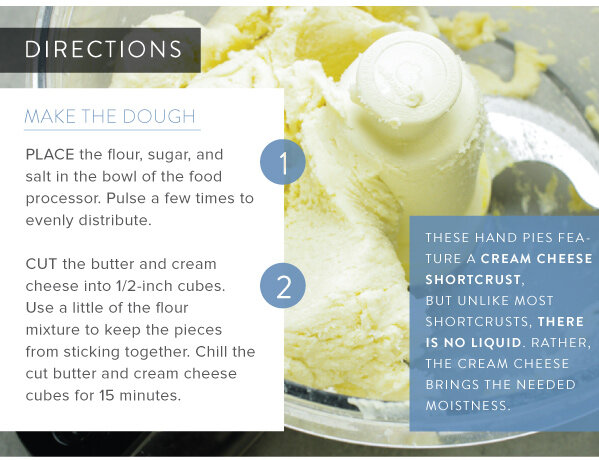
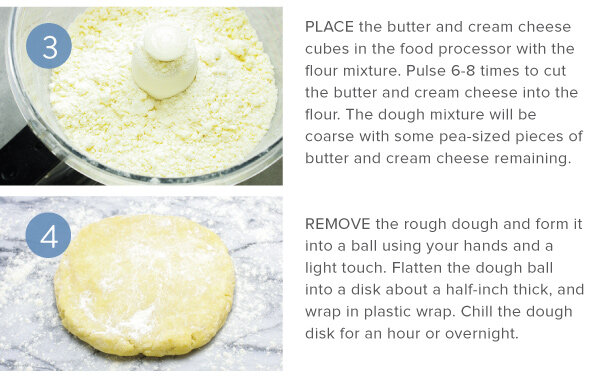
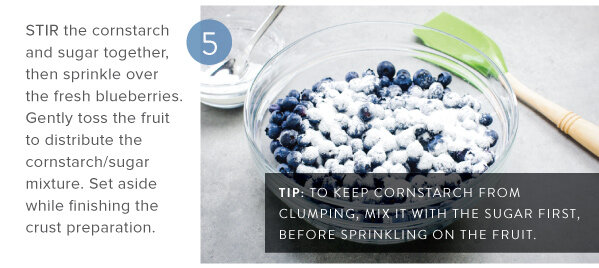
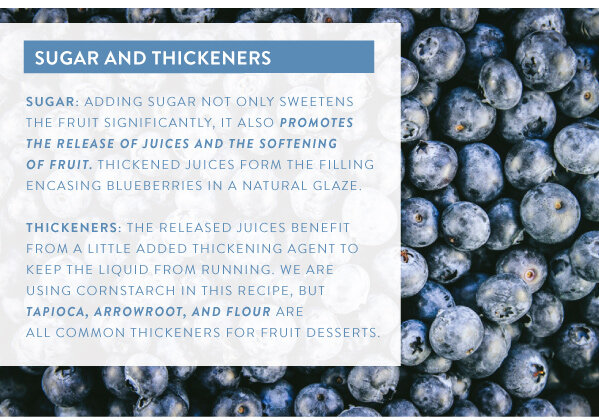
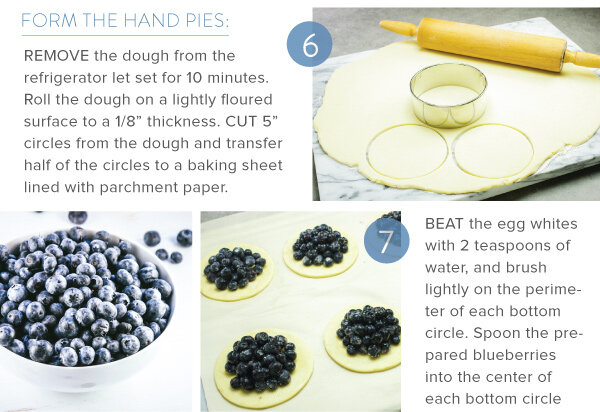
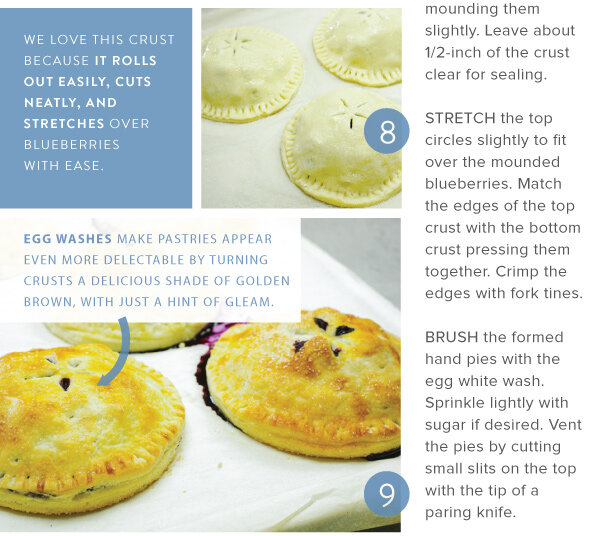
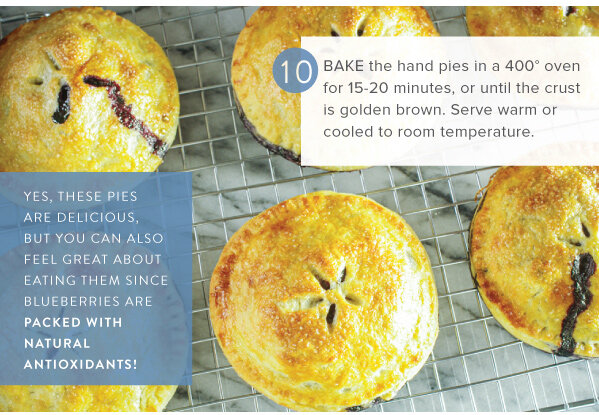
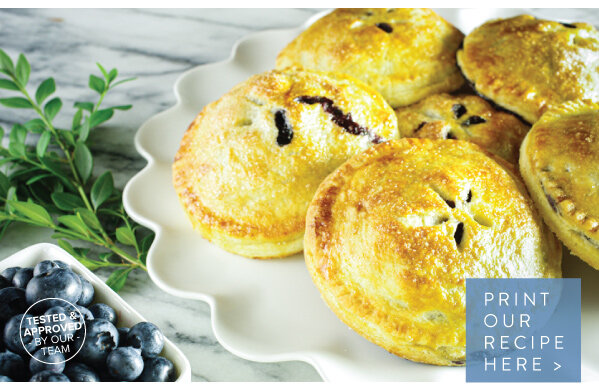
SUMMER BLUEBERRIES burst with a flavor that only happens when truly in season. One of our favorite ways to celebrate these little nutritional powerhouses is to place them in hand pies. The berries’ diminutive size fit neatly into petite packets, which highlight the rich cream cheese-based crust — a truly mouth-watering match!


A Good Time to Have Brunch In!

Lia Soneson

 
Brunch2020_v3_01.jpg

There is no better time than the present to brunch . . . IN! If breakfast is the most important meal of the day, brunch is the most fun! Brunch implies a leisurely sort of day — where our schedules are less relentless and time together is well spent. Whether you spend it with family or a few good friends, we've composed a foolproof menu worth celebrating.

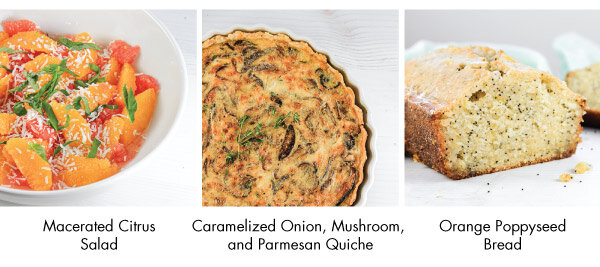
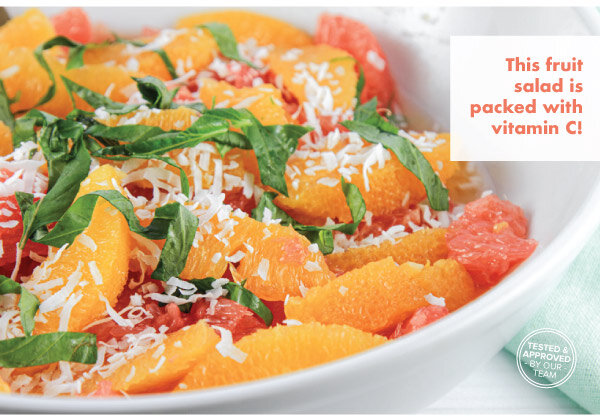
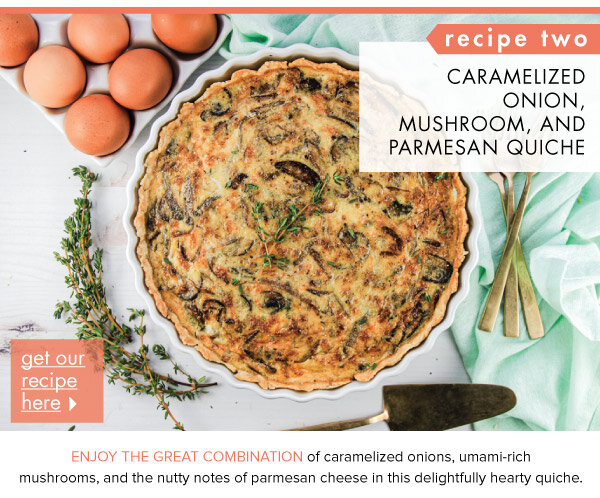
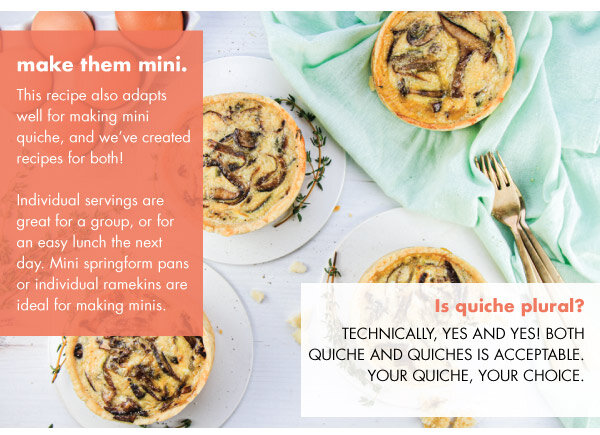
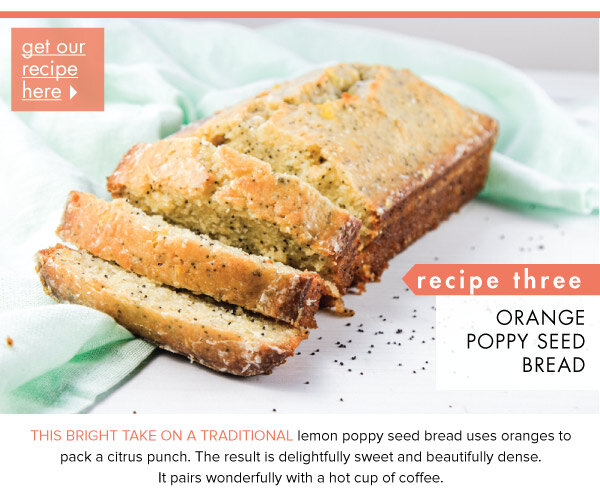
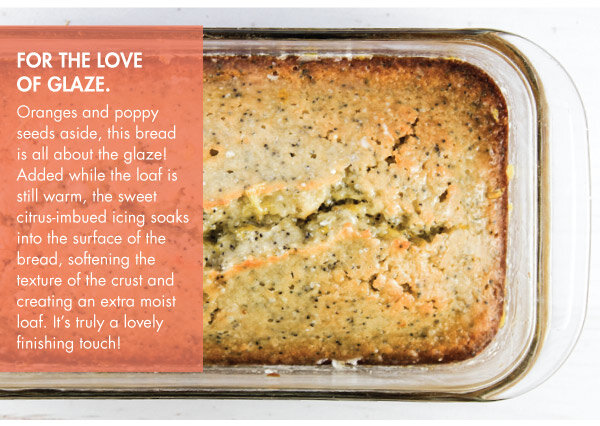
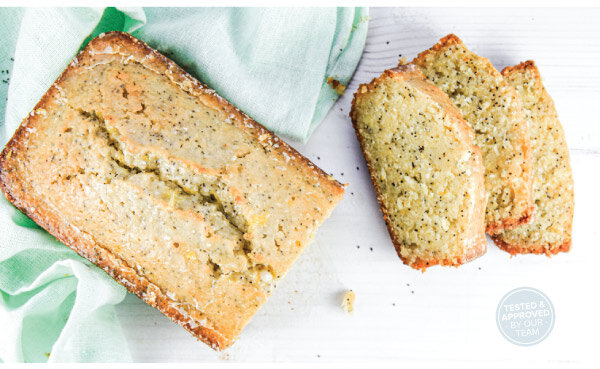
IN THIS ISSUE, we feature a Caramelized Onion, Mushroom, and Parmesan Quiche, Macerated Citrus Salad, and a side of Orange Poppyseed Bread.


Save Room for Pie! Thanksgiving Classics with a Twist

Lia Soneson

 
Pie2019_v1_01.jpg
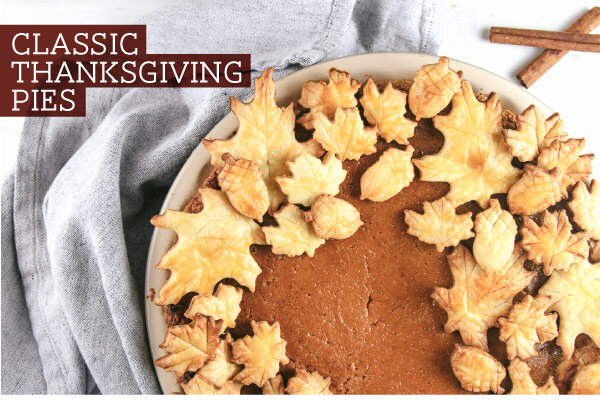
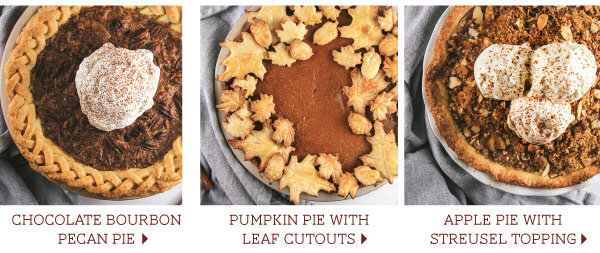
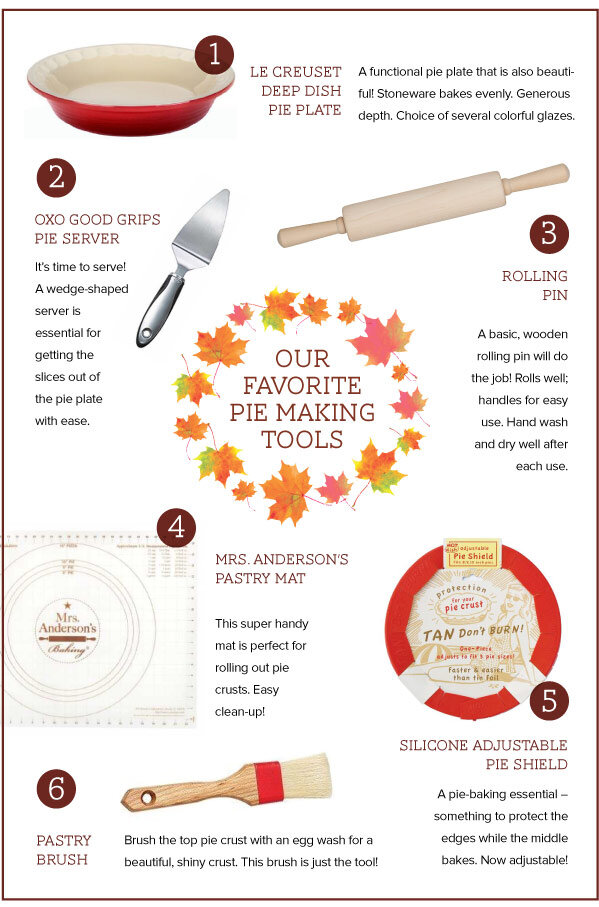
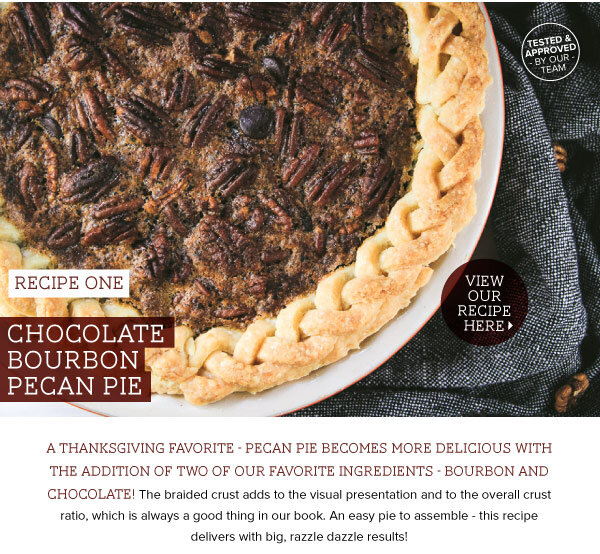
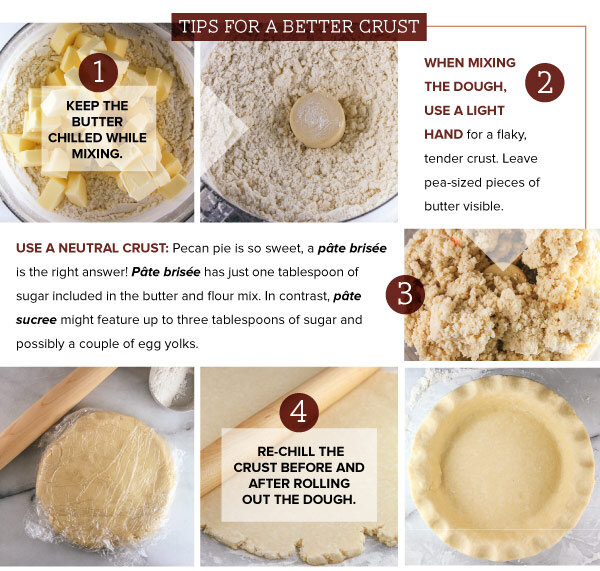
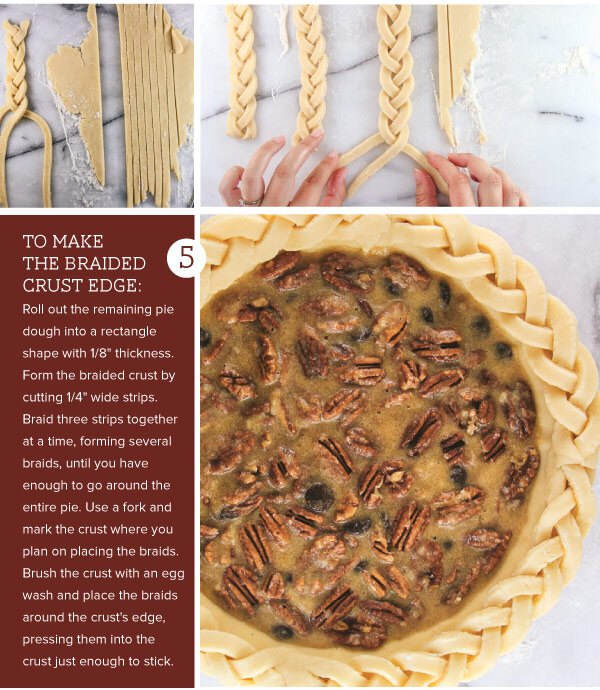
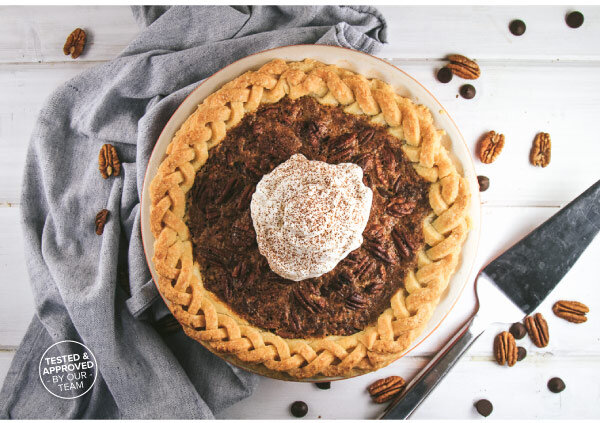
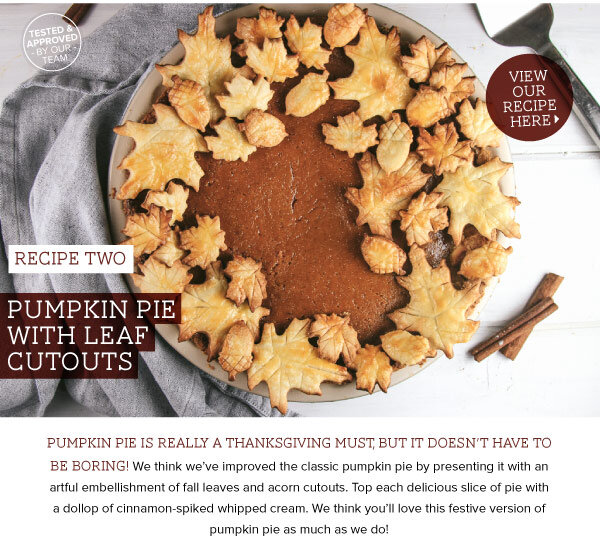
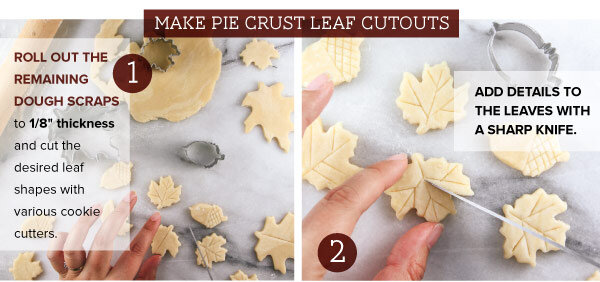
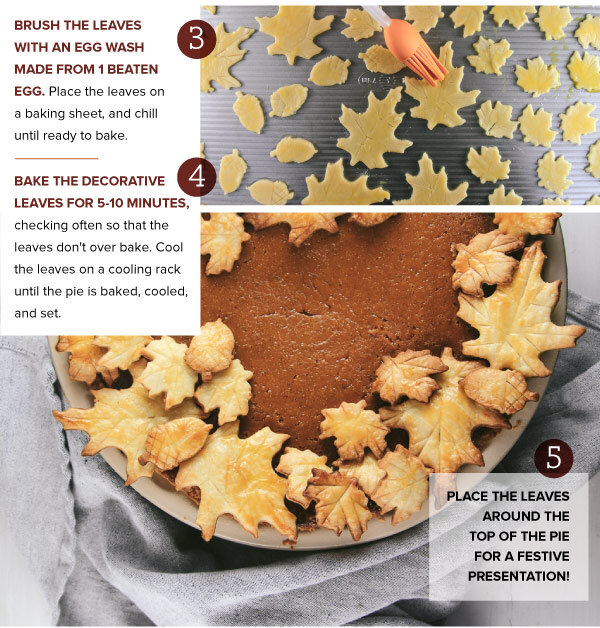
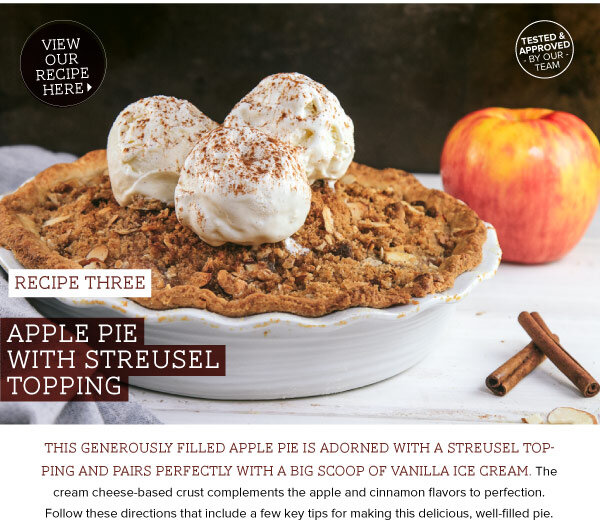
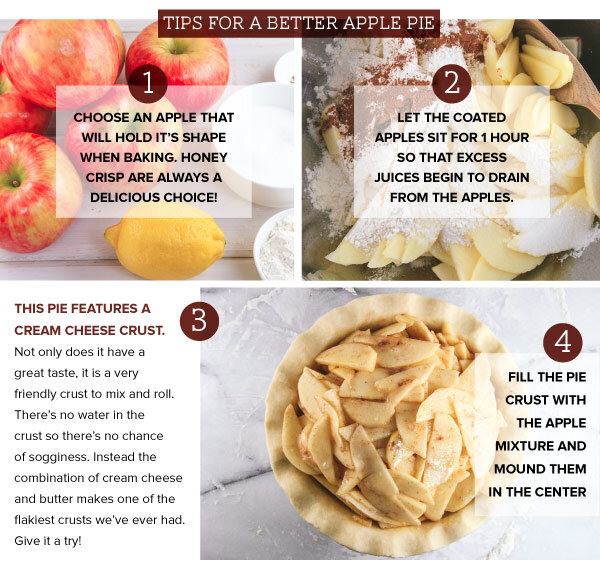
Happy Thanksgiving! This special holiday is centered around gratefulness, family, friends, and of course delicious food! IN THIS ISSUE, we offer a few tips for mastering the most important part of the dinner - the pie! In this season of thanks, we'd like to extend our gratitude to you for your loyalty and for being the most important part of our business!